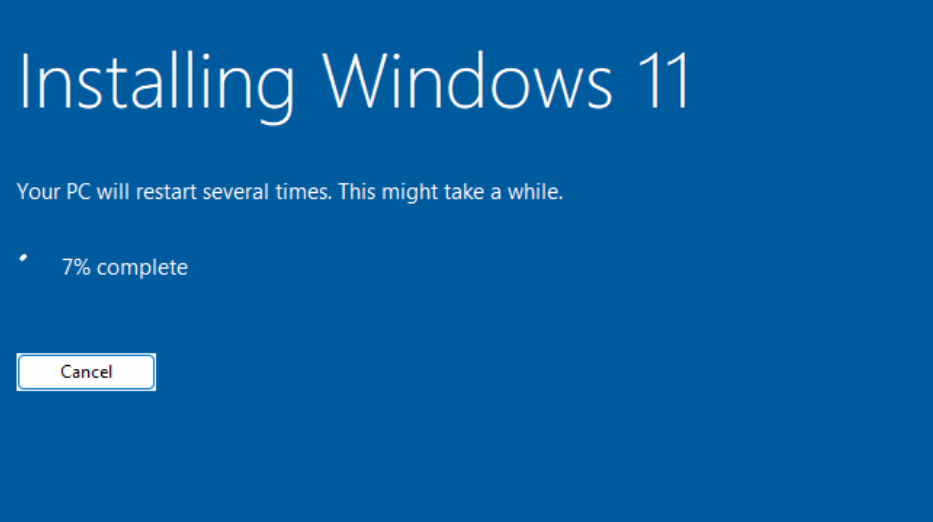
Now that you’ve downloaded the Windows 11 ISO file, it’s time to install it. If not, read this article before. Whether you’re upgrading from an older version of Windows or performing a clean installation, this guide will help you complete the installation process smoothly.
Before You Start: Preparation Checklist
Before installing Windows 11, make sure you have:
- Backup your important files: Save your data to an external drive or cloud storage to avoid data loss during installation.
- A compatible PC: Ensure your PC meets the system requirements for Windows 11 (Processor: 1 GHz, RAM: 4 GB, Storage: 64 GB, TPM 2.0, etc.).
- A bootable USB drive or installation media: You should have this ready from the Windows 11 ISO file.
How to Install Windows 11: The Step-by-Step Process
Step 1: Boot from Installation Media
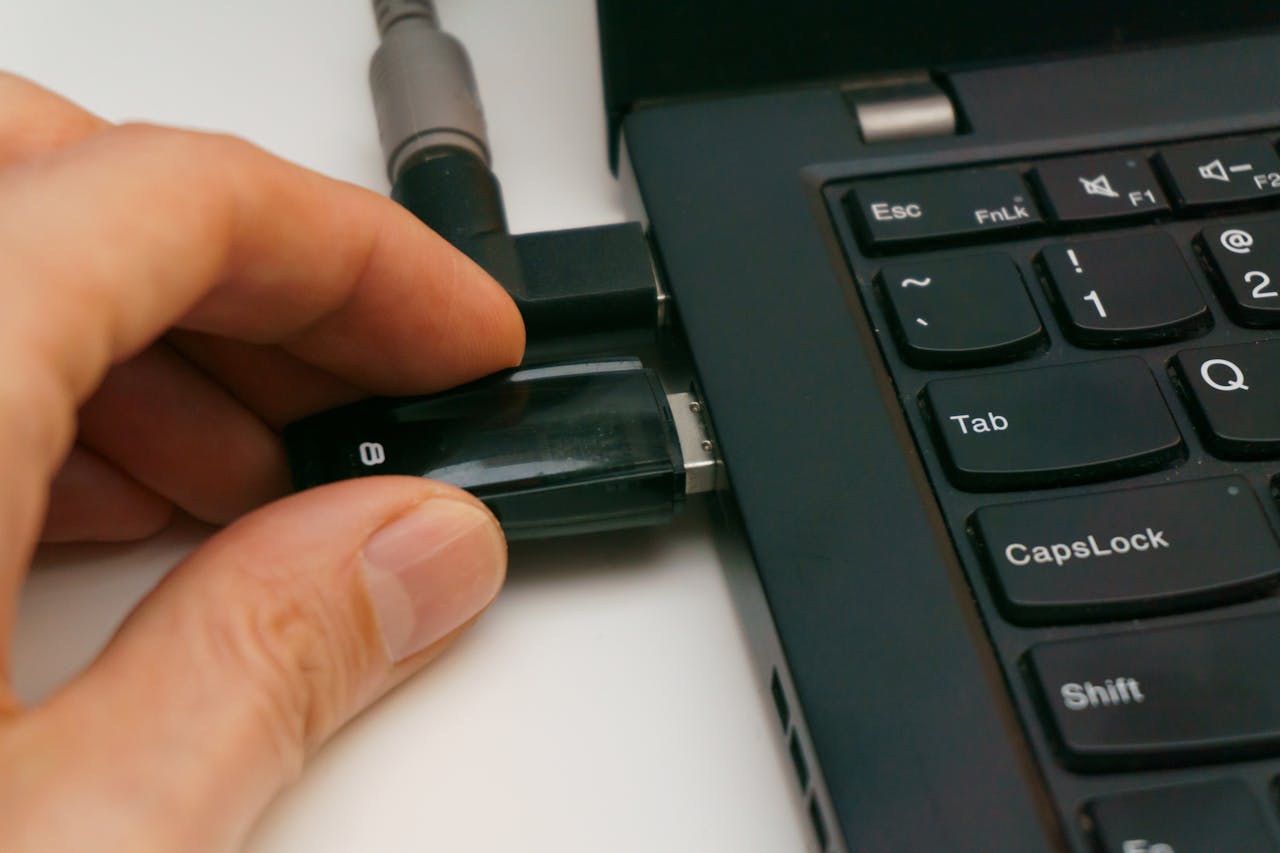
- Insert the USB drive (or other installation media) that you’ve created with the Windows 11 ISO file.
- Restart your PC and press the key to enter BIOS/UEFI (usually F2, F12, Delete, or Esc, depending on your manufacturer).
- In BIOS/UEFI, go to the Boot menu and select your USB drive as the primary boot device. Save the changes and exit the BIOS setup.
Your PC should now boot from the USB drive and launch the Windows 11 setup.
Step 2: Enter the Product Key
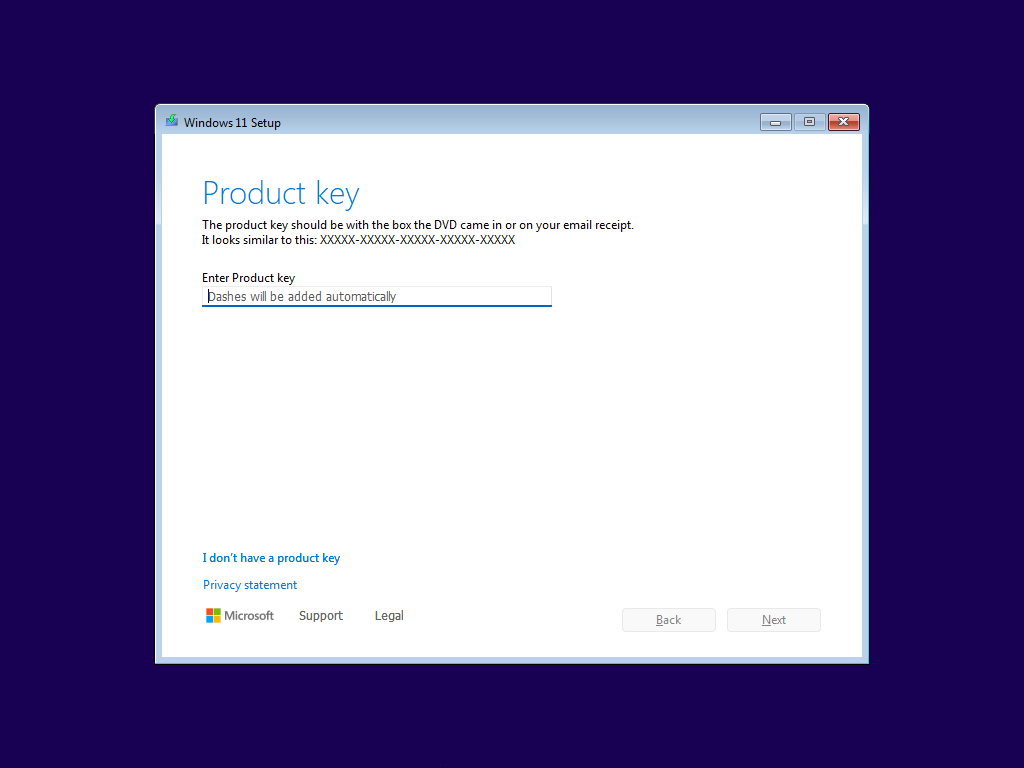
- If prompted, enter your Windows 11 product key. You can also choose to skip this step if you don’t have the key right now and activate it later.
Step 3: Start the Installation Process
- Please wait for the Windows installer to install the necessary files for Windows 11.
- Once the Windows Setup screen appears, select your language, time and currency format, and keyboard input method. Then click Next.
- Click on Install Now.
Step 4: Select Installation Type
- You will be asked whether you want to:
- Upgrade: This option allows you to keep your files and applications while upgrading to Windows 11.
- Custom (Clean Install): This option will erase everything on your hard drive and give you a fresh installation of Windows 11.
If you’re looking for a fresh start, choose the Custom (Clean Install) option.
Step 5: Partition the Hard Drive
- If you’re performing a clean install, you’ll be asked to select a partition for Windows 11. You can:
- Delete existing partitions to create free space, then create a new partition for Windows 11.
- Or select an existing partition if you want to install Windows 11 over your current OS.
- Once you’ve selected the partition, click Next to start the installation.
Step 6: Wait for Installation to Complete
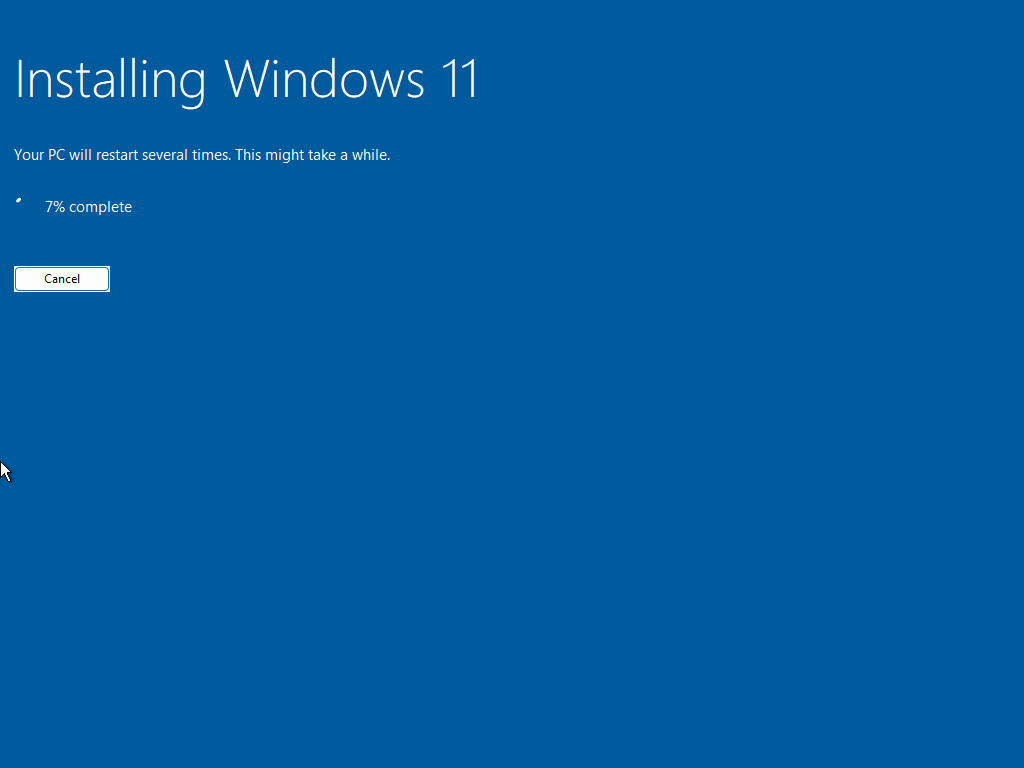
The Windows 11 installation will now begin. Your PC will restart several times during this process. Depending on your system’s speed, this might take anywhere from a few minutes to an hour.
Step 7: Configure Initial Settings
- After the installation is complete, you’ll be greeted by the Out of Box Experience (OOBE). Here, you will set up your preferences:
- Choose your region and keyboard layout.
- Connect to Wi-Fi if not already connected via Ethernet.
- Sign in with a Microsoft account or create a local account.
- You can also choose your privacy settings, like location tracking, diagnostics, and more.
Step 8: Complete Setup
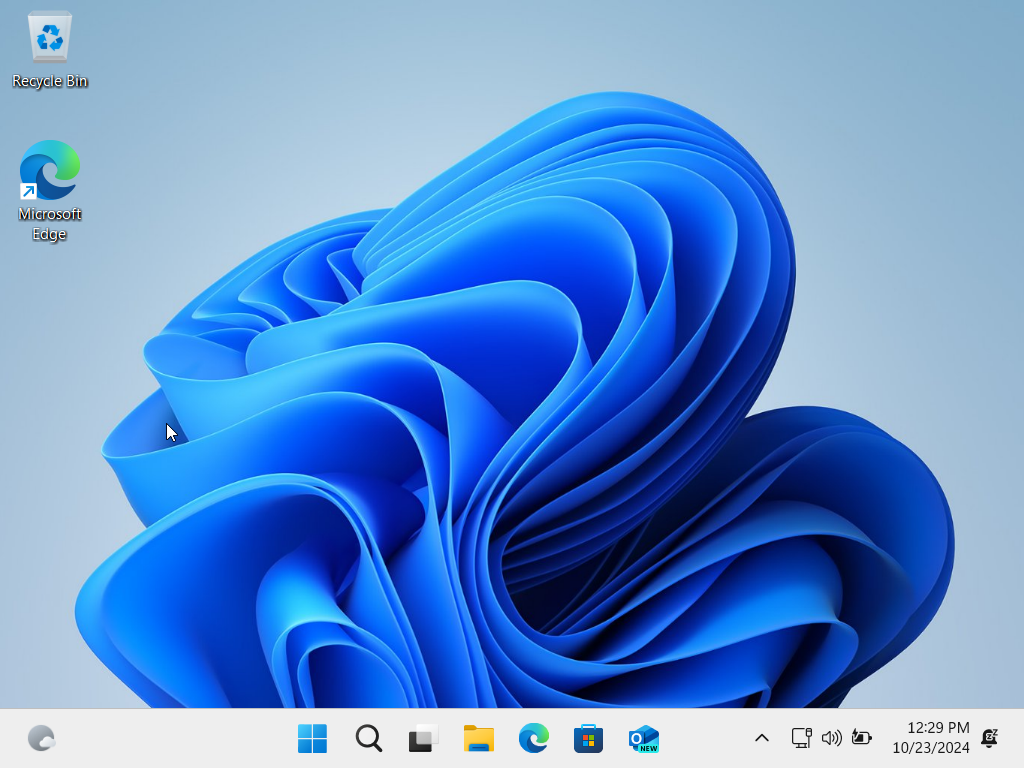
Once the setup is complete, Windows 11 will load, and you’ll arrive at the desktop. From here, you can:
- Install necessary drivers and updates through Windows Update.
- Restore your files from your backup if needed.
- Start enjoying the new features and experience of Windows 11!
Post-Installation Tips
- Check for updates: Go to Settings > Windows Update and install any available updates to ensure your system has the latest drivers and security patches.
- Install essential software: Set up your favorite apps, antivirus, and utilities to complete your environment.
- Activate Windows: If you didn’t enter a product key during installation, you can activate Windows 11 later via the Settings > Activation menu.


