Running low on disk space can slow down your computer and prevent you from saving important files or installing new applications. If you’re using Windows 11 and facing storage issues, there are several built-in tools and techniques to help you free up valuable disk space. In this guide, we’ll walk you through the most effective methods to clear up space and keep your system running smoothly.
Why Freeing Up Disk Space is Important
Over time, your computer accumulates unnecessary files like temporary data, old system updates, and app caches. These files can consume a significant portion of your hard drive, leading to:
- Slower performance: Less free disk space can impact system speed and application load times.
- Limited storage: With less space available, you may find it difficult to save new files or install software updates.
- System issues: Critical Windows updates and security patches may fail to install if your system is running low on space.
Now, let’s explore how to free up disk space in Windows 11.
Method 1: Use Storage Sense
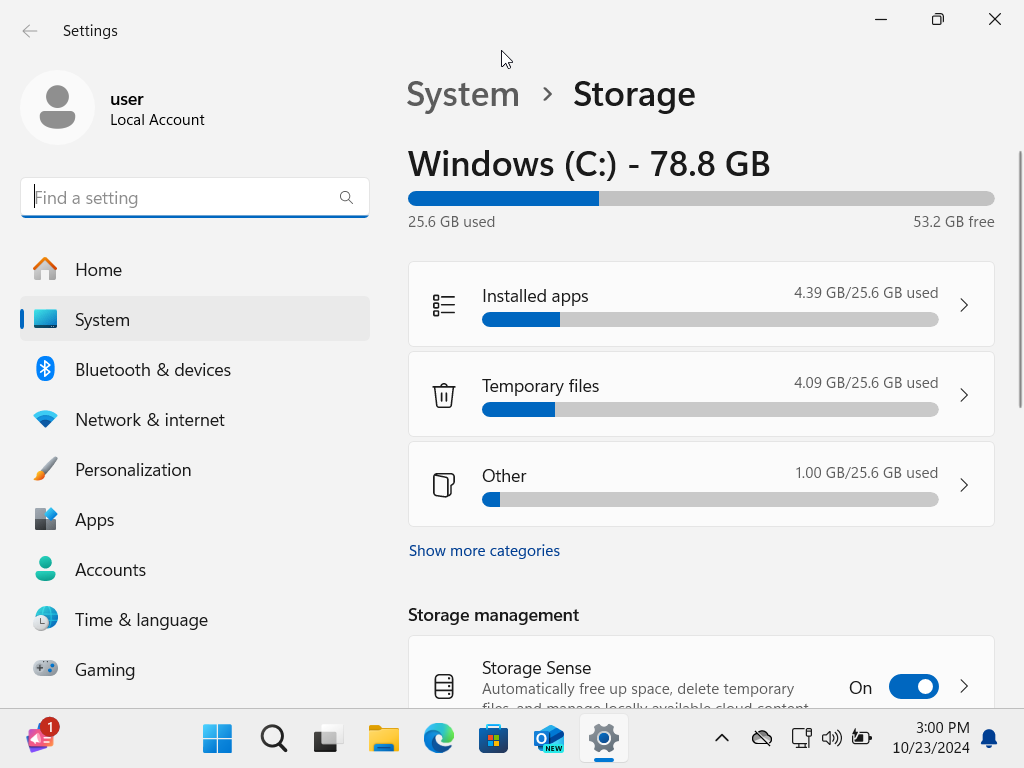
Storage Sense is a built-in tool in Windows 11 that automatically frees up space by deleting unnecessary files. Here’s how to enable and use it:
- Open Settings
Press Windows + I to open the Settings app. - Go to Storage Settings
Navigate to System > Storage. - Turn on Storage Sense
Under the Storage Sense section, toggle the switch to enable it. Click on Configure Storage Sense or run it now to customize its settings. - Customize Storage Sense
You can set Storage Sense to automatically delete temporary files, clear out the Recycle Bin, and remove old downloads. You can also choose how often you want it to run (daily, weekly, or monthly).
Method 2: Clean Up Temporary Files
Temporary files can quickly accumulate and take up significant space. Here’s how to manually delete them:
- Open Settings
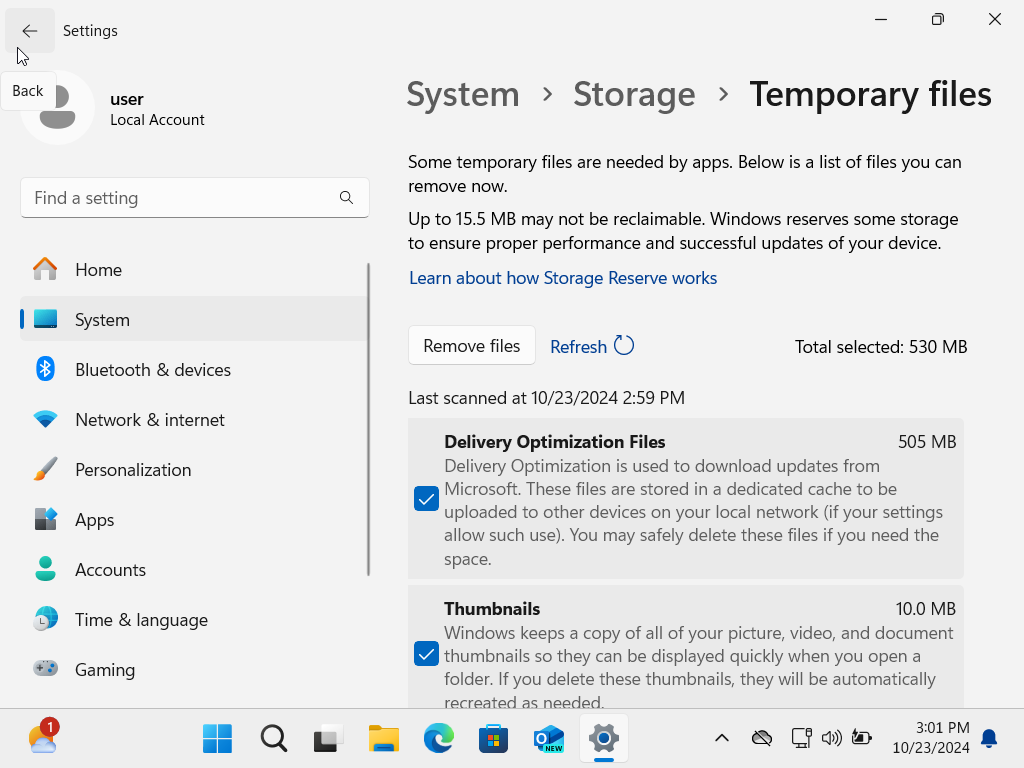
Go to System > Storage. - Click on Temporary Files
Under the Storage section, click on Temporary files. - Select the Files to Remove
You’ll see a list of file types, such as Windows Update Cleanup, Temporary Internet Files, and Thumbnails. Select the files you want to delete. - Click Remove Files
After selecting, click Remove files to clear up space.
Method 3: Uninstall Unused Apps
Old or unused apps can take up a lot of space on your hard drive. To uninstall them:
- Open Settings
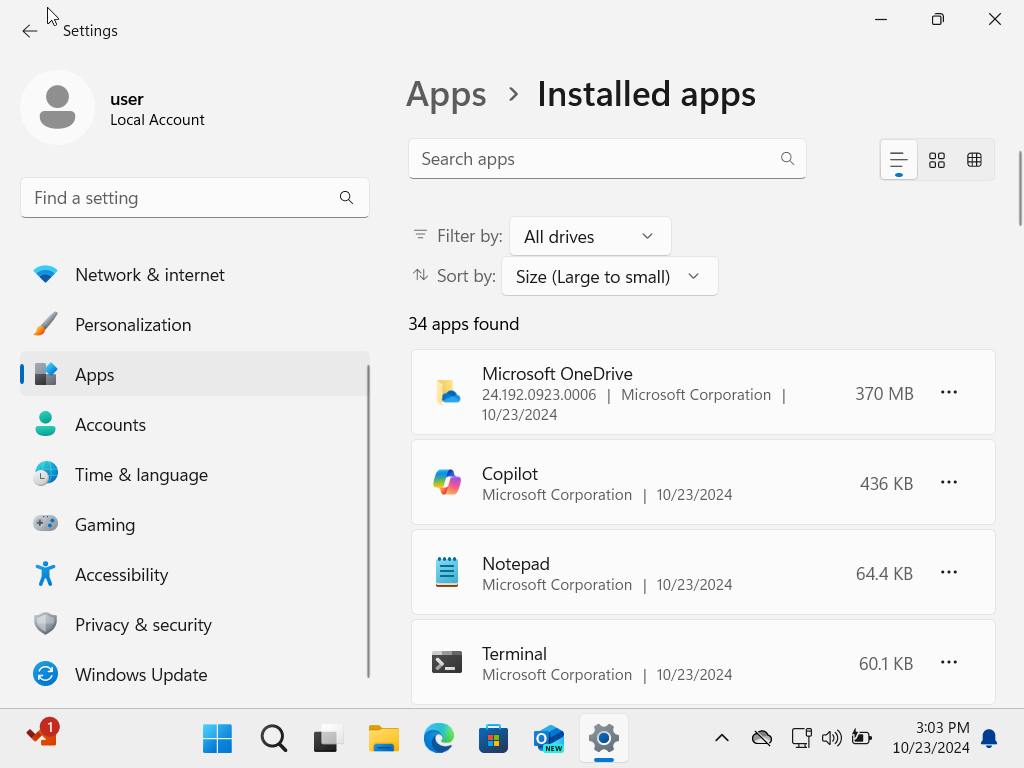
Go to Settings > Apps > Installed apps. - Sort by Size
In the list of installed apps, click on the Sort by dropdown menu and select Size to see which apps take up the most space. - Uninstall Unwanted Apps
Find apps you no longer need, click the three-dot menu next to the app name, and choose Uninstall. Follow the prompts to remove the app and its associated files.
Method 4: Use Disk Cleanup Tool
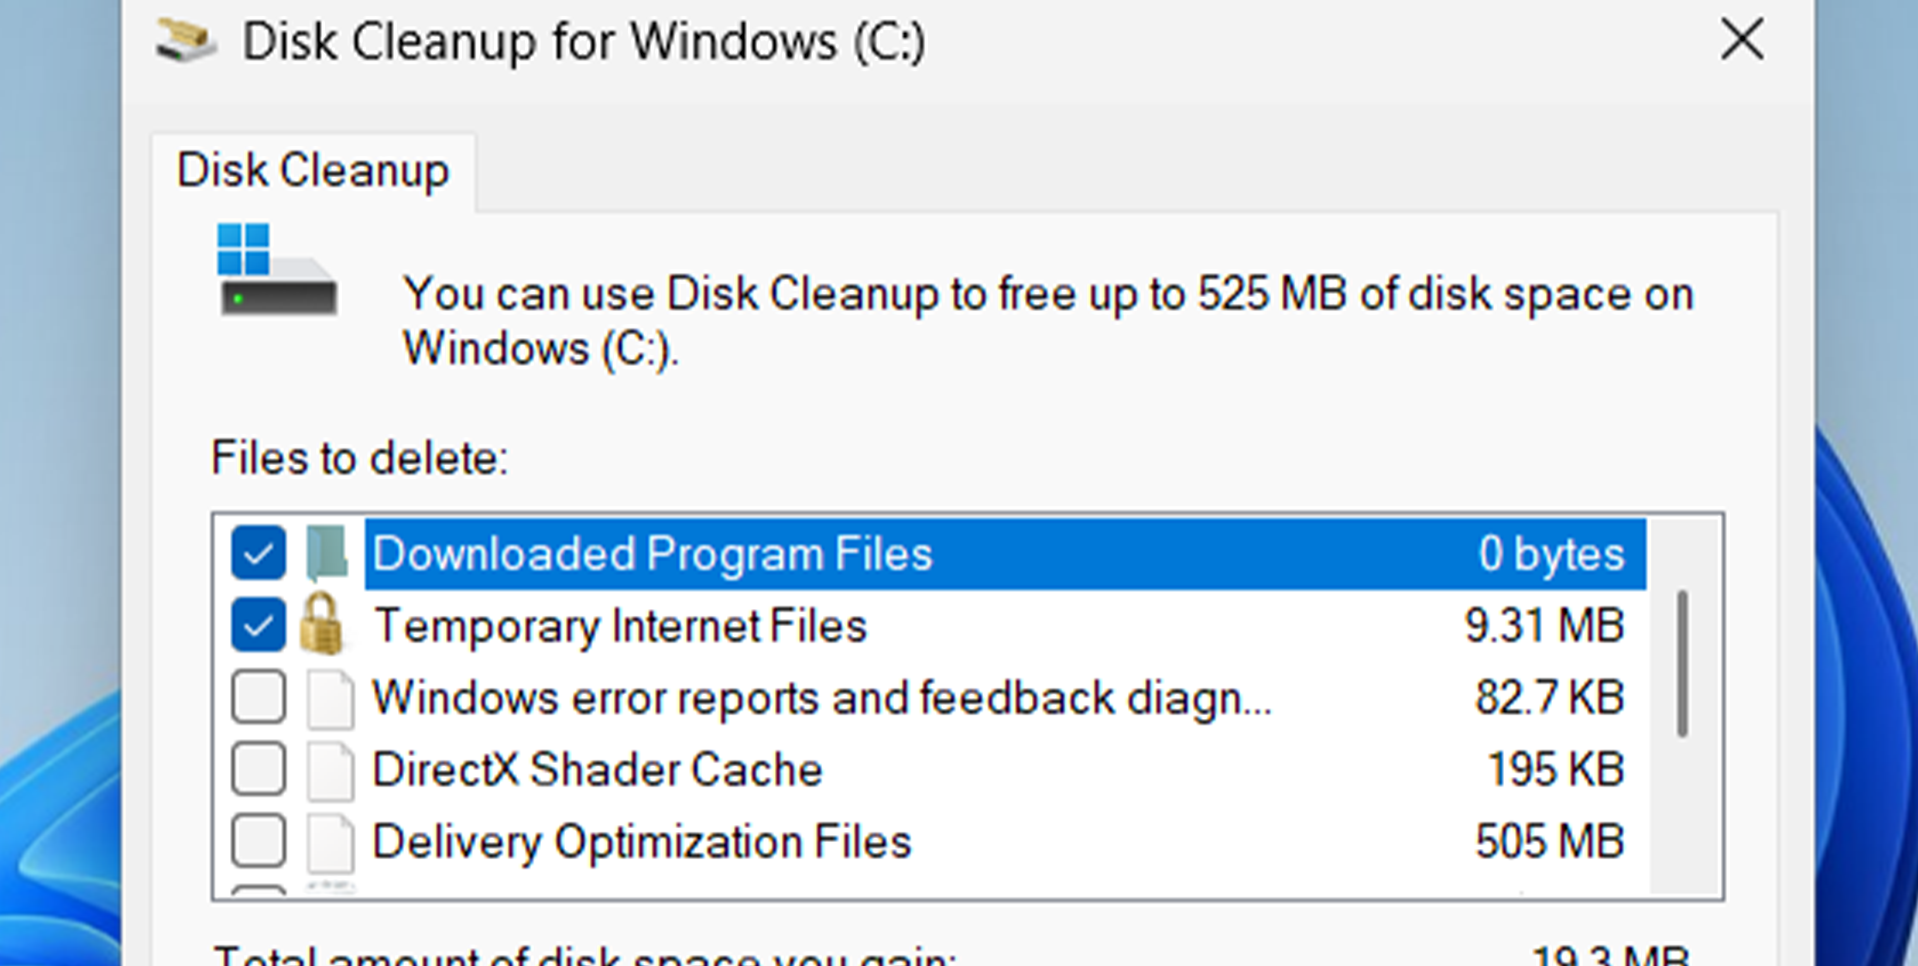
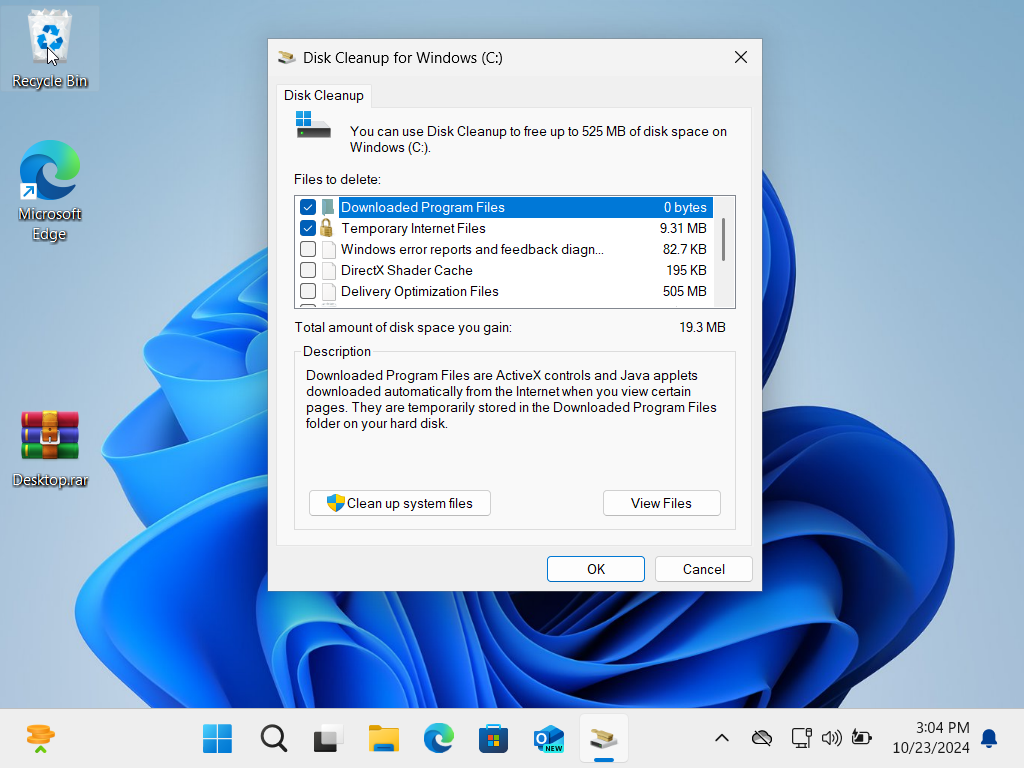
The Disk Cleanup utility in Windows 11 helps you clear unnecessary system files such as old Windows installations and system restore points.
- Open Disk Cleanup
Type Disk Cleanup in the Windows search bar and select the tool. - Select the Drive
Choose the drive you want to clean up (usually C:) and click OK. - Choose Files to Delete
Check the boxes next to the file types you want to delete (e.g., System files, Windows update cleanup, Temporary files). - Clean Up System Files
To delete more space-consuming files, click Clean up system files and select the system files to remove.
Method 5: Delete Large Files and Folders
To identify and delete large files that are taking up disk space:
- Open File Explorer
Press Windows + E to open File Explorer. - Go to This PC
In the left pane, click This PC. - Search for Large Files
Type size:>1GB in the search bar to find files larger than 1GB. You can adjust the size filter as needed. - Delete Unnecessary Files
Review the search results and delete any files that you no longer need.
Method 6: Move Files to External Storage or Cloud
If you have large files that you don’t want to delete but don’t need to access frequently, you can move them to an external drive or cloud storage.
- Use External Storage
Connect an external hard drive or USB drive, and manually transfer large files such as videos, photos, or backups to the external drive. - Use Cloud Storage
Windows 11 integrates seamlessly with OneDrive. You can upload files to OneDrive to free up local storage:- Open OneDrive and sign in.
- Drag and drop files into the OneDrive folder on your PC to automatically upload them to the cloud.
By following these steps, you can effectively free up disk space in Windows 11 and improve your system’s performance. Whether you’re using built-in tools like Storage Sense or manually deleting unnecessary files, there are plenty of ways to keep your hard drive clutter-free. Regularly maintaining your storage will ensure that your PC runs smoothly and has enough space for future updates and new files.


